April 7, 2014

FAUX CHENILLE PILLOW

Posted by Lori~

My new headboard is working out great, but now it's time to decorate my bed and make it pretty!

I saw these amazing faux chenille pillows and knew immediately this would be my first project.


Inspiration from here.
I picked up a set of throw pillows at a thrift store for $2.00.  I wasn't interested in their look, but this was a much more affordable option than purchasing new inserts. 
First up, I measured the size of the pillow to determine my pillow front size.  I cut one piece of white fabric and four pieces of black felt to fit.  I also opted to sew the fabrics together by sewing a seam across the top of the fabrics.
  
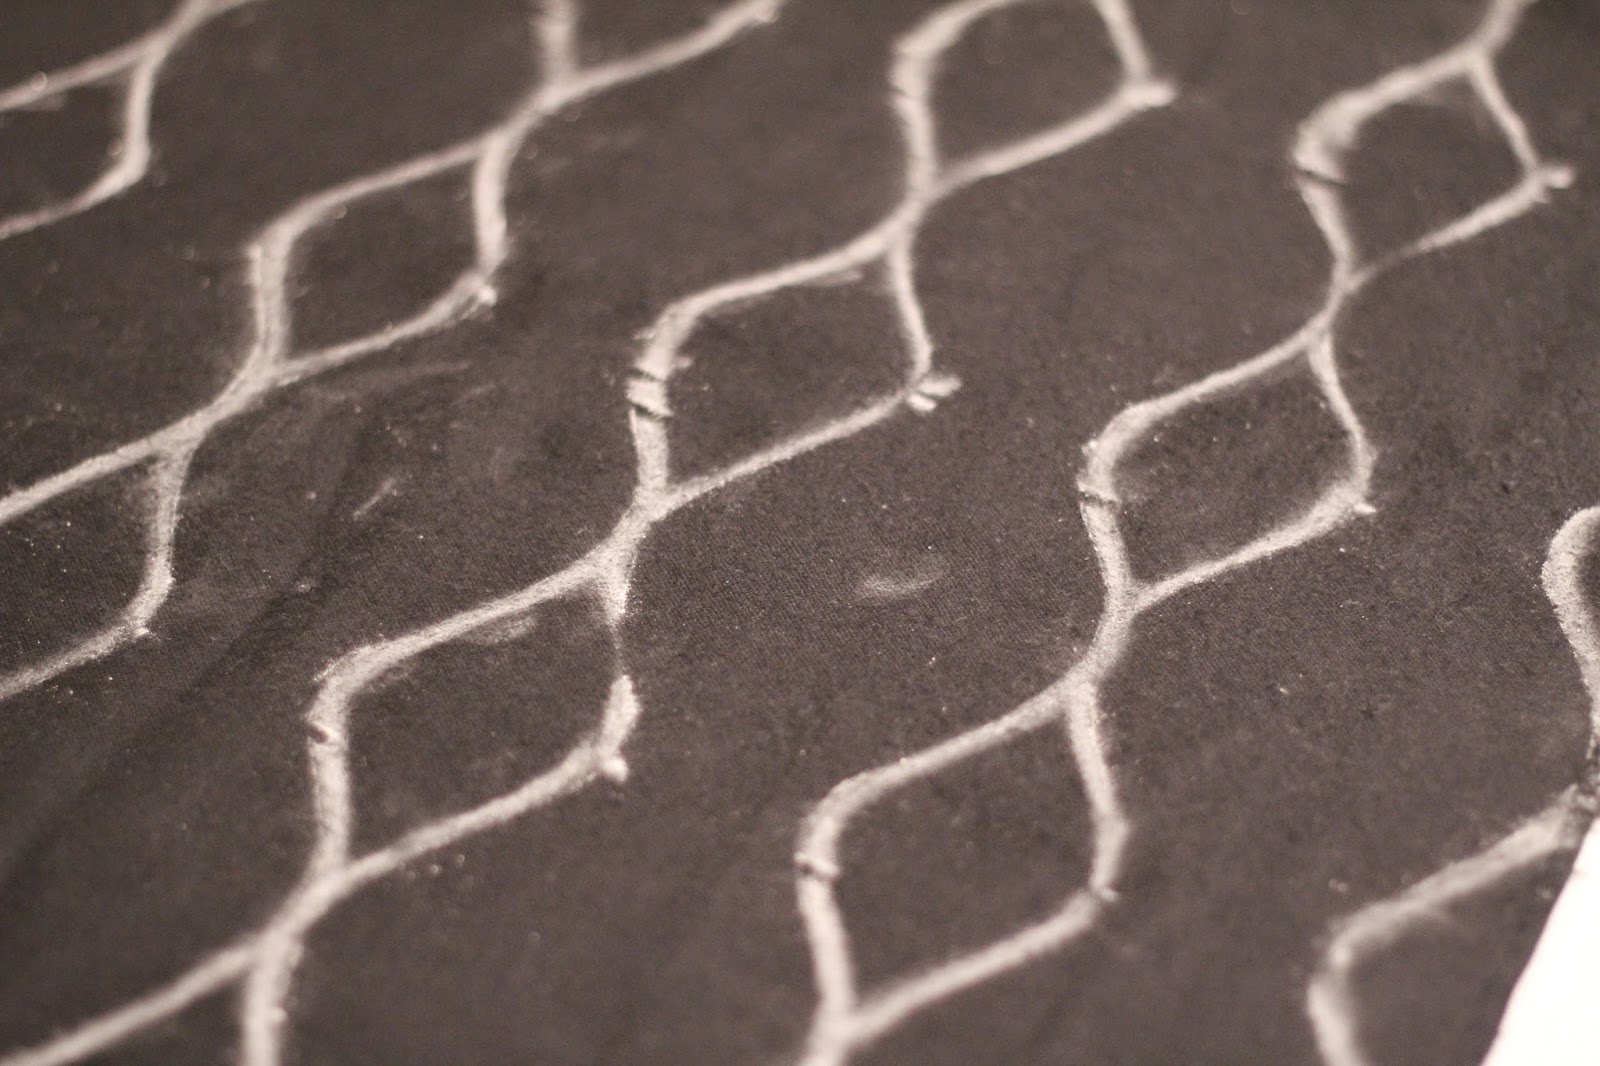
Next up, I created my pattern and traced it onto the fabric with chalk. 

I then sewed along the lines (using the edge of the sewing machine foot as my guide).  You will not sew directly on the line, but instead roughly 1/4 inch away.

This is what the back of your fabric will look like.
Trim along the seams being sure not to cut your bottom layer of fabric.  I left roughly 1/4 inch.   


These are my fabric scraps.  I kept them--maybe I can come up with a use for these too.

Wash the fabric which will now cause the raw edges to fray.  I also ran it through the dryer.  After it was dry, I did go back and use a lint roller to remove any excess fuzz. 


Using the pillow back pocket method, I sewed a back on my pillow.

I stuffed my pillow insert into the pillow.  It fit perfectly.  


Don't you love Chenille?..and Faux Chenille might be even better!


April 3, 2014

EASTER GARLAND

Posted by Lori~

I found this inspiration online and I have lost the online link.  I love the inspiration, and I wish I could give the crafter credit.  Unfortunately, that is a no go; however, I knew I could recreate this project for little or nothing.


First up, I created a pattern for my bunny.


And traced the pattern onto the back of scrapbook paper (already in my craft stash).


I ended up with roughly 20 paper bunnies.  


Using Elmer's School Glue and my Target dollar section poms, I attached the poms to the bunnies. 


Next up, I attached the bunnies to the ribbon (in my craft stash) using scotch tape.


SUPER CUTE!  RIGHT?!?  Literally, crafts do not get any easier than this!

April 2, 2014

REUBEN (knock-off)!

Posted by Lori~

St. Patrick's Day is officially over, but that doesn't meet we need to stop eating that DELICIOUS CORNED BEEF.  Nothing is better than a good reuben sandwich.  The BEST I ever had was in NYC at Carnegie Deli with Pastrami.  The portions were enormous and the flavor out of this world!  

I was dreaming of that NYC reuben sandwich and decided to "attempt" to recreate it at home.  I opted to do open sandwiches (like the deli)--less calories...right?!?


Here's my pastrami.  Not as good as the Carnegie Deli version, but this ND version will work.


YUMMMMYYY....Kraut and Swiss Cheese!


I baked my version.  And honestly, it worked!


Have you tried to re-create a sandwich lately?