Showing posts with label decor. Show all posts

May 4, 2014

NEW XTRA LONG SHOWER CURTAIN (made a little shorter)!

Posted by Lori~

I had all these plans to make my white shower curtain longer, but honestly it never happened.  And then, Mur-man spilled medicine all over it (that would not come out).  Time for a new curtain.

I emailed my good friend and WOM-MOM follower Reagen for shower curtain advice.  I wanted an extra long shower curtain that would fit well into my current bathroom.

She emailed back with several options, but I landed on this one (plus it was on sale!):

Shower curtain found here.
It arrived in the mail and I immediately hung it.  The problem was, it was too long.  In my quick thinking I didn't even measure the space to ensure that 96 inches would fit and it didn't.  It was roughly 10 inches too long.

Thank goodness my Mom (crafty G-Ma) was in town.  She helped me shorten it.

We didn't want to cut the shower curtain (it was better to not have a raw edge), but instead we were able to double-fold it twice and sew along both seams.


You can't even tell that it has been shortened.  I totally love it!


The best part is that it is still extra-long!  Thank you Reagen for your awesome shopping skills!  Just under $24.00 for a shower curtain was perfect (and I received free shipping)!  PERFECTION!  

Now I need to finish up the bathroom by painting, creating a window roman shade, and so much more!  More updates to come!


May 1, 2014

ALL WHITE BATHROOM TOWEL UPGRADE!

Posted by Lori~

I am turning 30(ish) on Monday and this year I asked for white towels!  That's right...sounds boring...right?!?

This is actually something that I have been wanting for awhile.  I am still using college towels along with wedding towels (all mis-matched).

I made the decision I wanted all white towels.  There will be no color bleeding (and I can bleach them whenever I want).

I found a GREAT sale on Jonathon Adler Chevron Towels at JCPenney, and convinced Mom and Steve to buy them for me!  

I was lucky to get four sets (or 8 large towels total).
 

I found them on sale here.
I LOVE THEM!


April 13, 2014

GOLD PINE CONES!

Posted by Lori~

Over the weekend, I was busy raking and cleaning the yard.  That's when Mur-man started picking up pine cones, and I thought, let's do a craft!

I took out school glue and gold glitter.


I squeezed the glue into a disposable bowl, and Mur-man dipped the pine cones.


Then we shook the gold glitter over the glue (and also rolled the pine cones in the loose glitter).


I thought they turned out beautiful!  Mur-man loved this little project too. 


April 7, 2014

FAUX CHENILLE PILLOW

Posted by Lori~

My new headboard is working out great, but now it's time to decorate my bed and make it pretty!

I saw these amazing faux chenille pillows and knew immediately this would be my first project.


Inspiration from here.
I picked up a set of throw pillows at a thrift store for $2.00.  I wasn't interested in their look, but this was a much more affordable option than purchasing new inserts. 
First up, I measured the size of the pillow to determine my pillow front size.  I cut one piece of white fabric and four pieces of black felt to fit.  I also opted to sew the fabrics together by sewing a seam across the top of the fabrics.
  
Next up, I created my pattern and traced it onto the fabric with chalk. 

I then sewed along the lines (using the edge of the sewing machine foot as my guide).  You will not sew directly on the line, but instead roughly 1/4 inch away.

This is what the back of your fabric will look like.
Trim along the seams being sure not to cut your bottom layer of fabric.  I left roughly 1/4 inch.   


These are my fabric scraps.  I kept them--maybe I can come up with a use for these too.

Wash the fabric which will now cause the raw edges to fray.  I also ran it through the dryer.  After it was dry, I did go back and use a lint roller to remove any excess fuzz. 


Using the pillow back pocket method, I sewed a back on my pillow.

I stuffed my pillow insert into the pillow.  It fit perfectly.  


Don't you love Chenille?..and Faux Chenille might be even better!


March 31, 2014

UPHOLSTERED HEADBOARD

Posted by Lori~

I have been staring at the blank knee wall above my bed for years.  We had to go with a platform bed for our story in a half bedroom because we couldn't quite squeeze a box spring up the stairs and into the space.

As a result, we purchased an IKEA platform bed without a headboard.  


I really wanted to attempt to make an upholstered headboard, but the tufting made me nervous.  That was until I saw this tutorial that had zero tufting.  PERFECTION!

My inspiration photo from Thrifty Decor Chick.
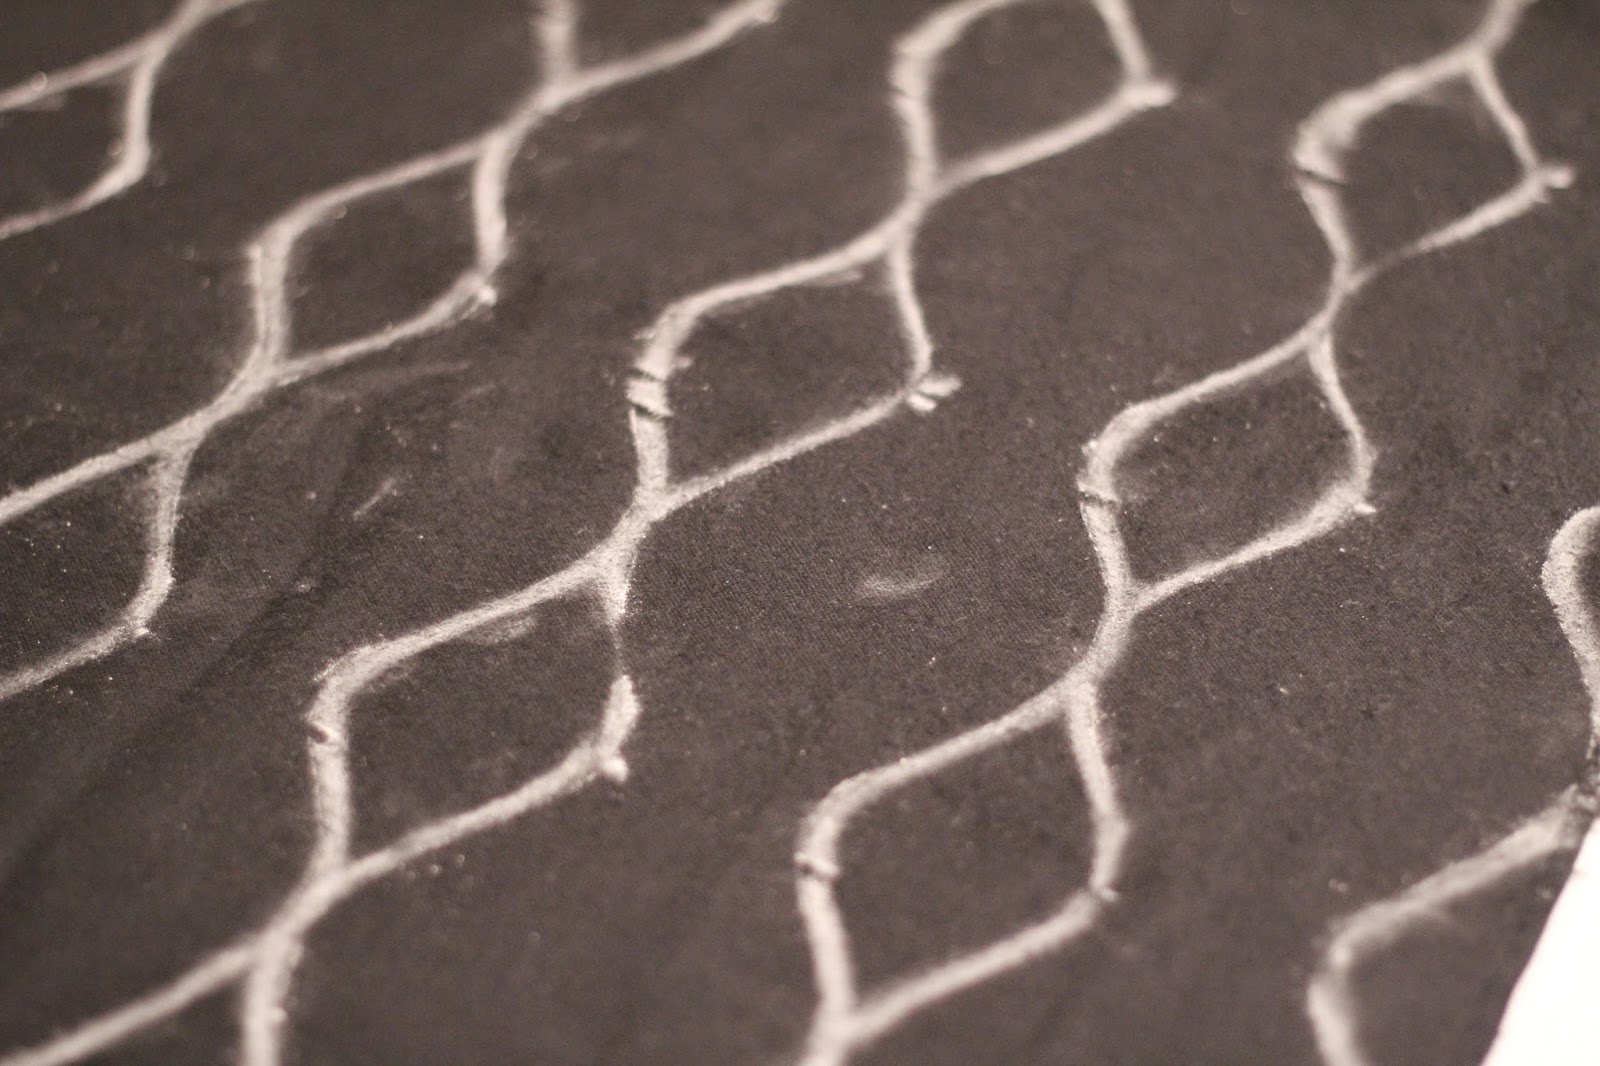
The process was easy and super affordable.  You will need a piece of plywood (to fit), a foam mattress pad, a sheet (or other piece of fabric that will not be seen), a staple gun (with staples), decorator fabric (or other fabric--you choose (I went with upholstery fabric, because I liked the pattern and it was on sale)), and keyhole hangers.


You will want to cut your mattress pad to fit.  I ended up piecing a section together.  You will use a double layer of mattress pad with the bumpy side together.  Using a sheet (or other piece of fabric), pulling tightly, staple the fabric to the plywood.  This will secure the mattress pad to the plywood.


I did go back and hammer in the staples to ensure that they were secure.  Mur-Man helped out with the hammering.


The next step is to staple the decorator fabric to the board--pulling tightly as you go.  


I secured the corners like I was wrapping a package, pulling tightly.  In addition, I did cut away excess fabric within the fold to make the corner flatter.  


Steve attached keyhole hangers to the back of the headboard.  We chose this hanger option, because we wanted the headboard to attach flat to the wall.


Honestly, the hardest part of the project was attaching the headboard to the wall (getting the nails into the keyhole hangers), but eventually they lined up.


I love it!  I love the contrast with the white bed frame.  


Steve loves the headboard too.  We especially love that the pillows can no longer fall behind the bed.  Next up, throw pillows!  I am on that already and cannot wait to reveal!


Here is the cost breakdown on this project:
Plywood:  $17.00
Foam Mattress Pad:  $11.00
Twin Sheet:  $1.50 (purchased at a thrift store)
Upholstery Fabric:  $17.00 (2 yards on sale)
Staple Gun/Staples:  Already in my tool supply
Keyhole Hanger:  $2.00
Total:  $48.50


March 9, 2014

POTTERY BARN TRAY HACK!

Posted by Lori~

Recently, I was browsing an online Pottery Barn sale and came across the Esta Ikat Gilt Tray for $71.00 on sale.  It looked very similar to the wood tray that currently sits on my ottoman from IKEA.  This tray however cost around $15.00 (and I believe is no longer available at IKEA--BOO)!

That's when I thought:  I could use Modge Podge and fabric to make it Pottery Barn(ish)!  Better yet, I had the supplies needed already in my craft stash--my cost (FREE!).


And, that's exactly what I did...

First I traced the tray onto my selected decorator fabric.


The size was a little too big for the inside of the tray so I did end up pushing the fabric down, drawing a line, and trimming.  Honestly, It was an easy step.  I debating drawing a circle onto the fabric using a string however, I wanted to be 100% sure the fabric was large enough and my circle shape was not off.

Using a foam brush, I applied a generous amount of Modge Podge as I went.  I also made sure all bubbles were pushed out and that the fabric was very smooth. 

Once all the fabric was attached to the tray, I applied a generous additional coat of Modge Podge on top of the fabric ensuring the seams were secure.
I also decided to add some silver Rub n' Buff to the edge of the tray (using my finger).
I LOVE IT!  so much better!  Have you done any high/low hacks lately?